The setting up of a PCM with the Package Tour services in it is exactly the same as has been discussed in this document for scheduled group tours. The example Package being used is an 8 Day Self Drive tour with rental car travel, accommodation and some included sightseeing. The PCM has not had any markups applied since it is only being used to:
- Store the services in the package, along with the cost prices.
- Hold the detail of the package price product and the rules surrounding the package.
The selling price(s) of the package are in the Package Price Product, which is created and attached to the PCM.
The process of creating a FIT Package PCM is split into two tasks in this topic:
Create a New PCM Header and Pax Ranges
-
From the Home menu, select
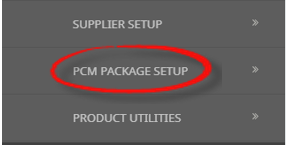
 Home > Products > PCM Package Setup.
- Click the Product menu to expand it:

- Click the PCM Package Setup to go to the PCM Package:

NOTE: You can also get to the PCM Quotes screen via menu Home > Bookings and Quotes > PCM Quotes.
- Click the Product menu to expand it:
-
ClickInsert New PCM.

-
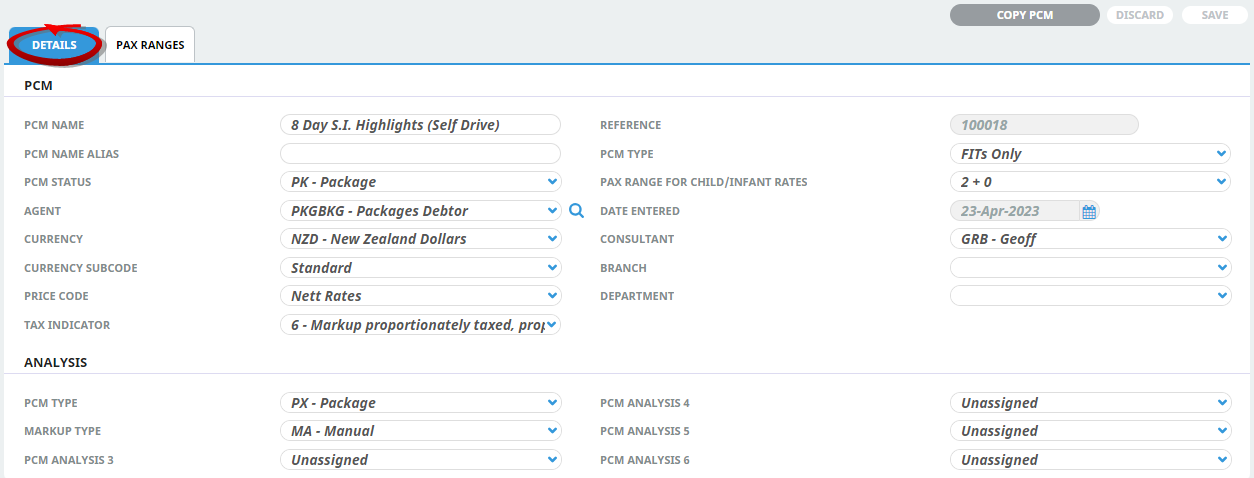
On the emptyInsert PCM screen, give this PCM a name and enter data into other fields as required.
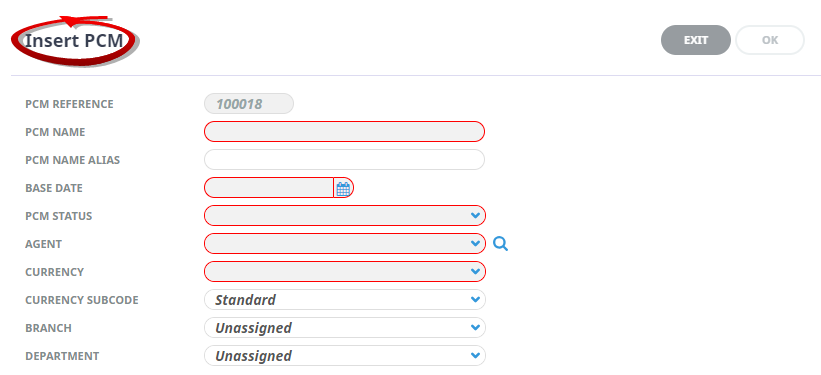 This completed example shows a PCM header named8 Day S.I. Highlights (Self Drive).

-
ClickOK to keep the changes and save or update the entry.

-
ClickExit to discard any changes.

-
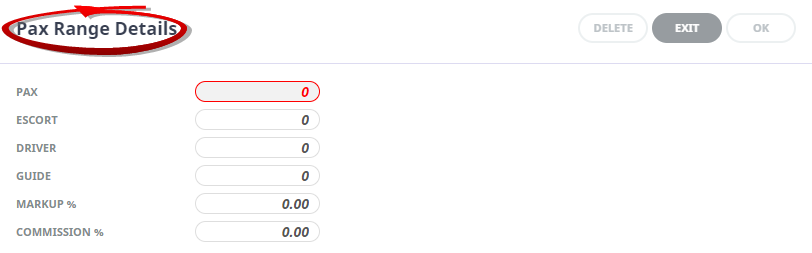
If you click OK, the PCM is created and the emptyPax Range Details screen is displayed.
-
Enter values for the first pax range into fields as required and click OK.
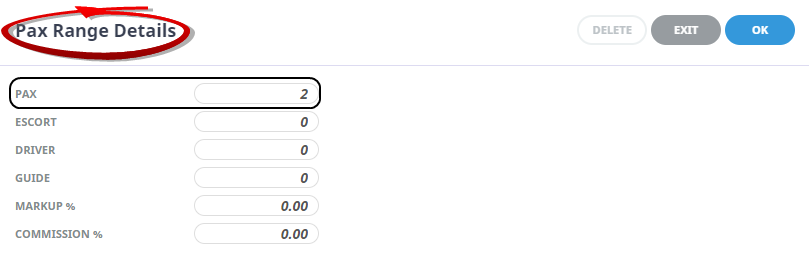
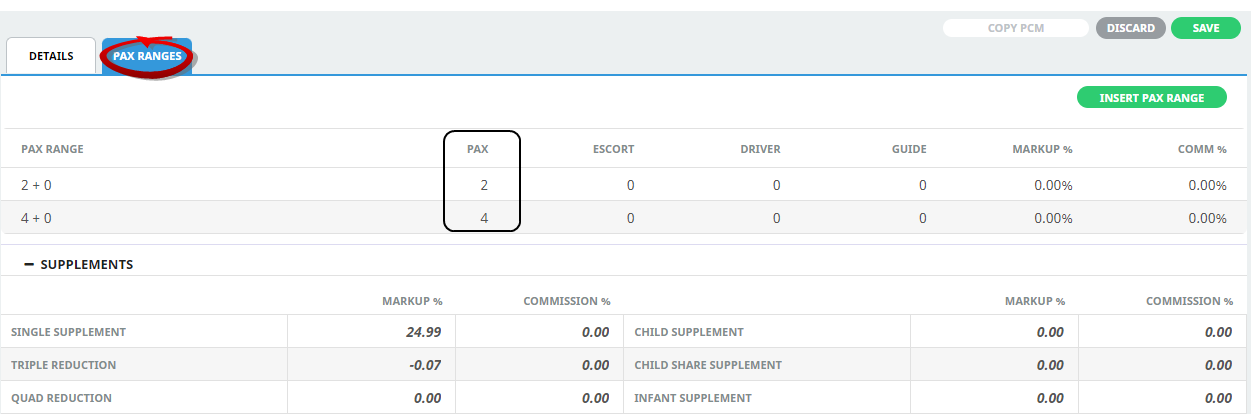
This example shows Pax Range Details for a pax range labelled 2 plus 0 drivers, guides or escorts (this is the label given by Tourplan-NX when viewed in the PCM Details, General Setup screen (Pax Ranges tab).
 Pax Range Details
When you click OK, the fields are cleared and the empty Pax Range Details screen as shown above is displayed again, with no indication that the previous values entered have been accepted. However, they were accepted, and any subsequent pax ranges you enter will behave in the same way and also be accepted.
NOTE: An entry for Drivers is only required here if the system is to cost the driver. If the driver’s costs, including accommodation and meals, are covered by (for example) the quotation from a transportation company, then no driver entry is required here.
-
When you are finished entering pax ranges, click Exit (on the Pax Range Details screen) to display thePCM Details (Pax Ranges tab), where you can see all the pax ranges entered.
 NOTE: You can get to this view of an existing PCM any time menuPCM Quotes > PCM Details > General Setup > Pax Ranges tab.
- Click the FITs hamburger menu to open it:

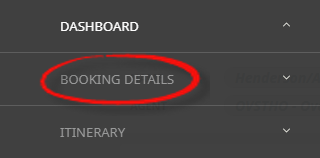
- Click the Booking Details menu option to expand it:

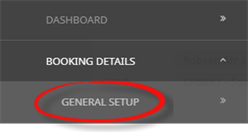
- Click General Setup to open the booking, ready for editing:

- Click the FITs hamburger menu to open it:
-
ClickSave to save all entered pax ranges.

-
Insert additional pax ranges via theInsert Pax Range button.

NOTE: When outputting documentation, up to 6 Pax ranges/prices can fit on an A4/letter page in portrait orientation and up to 10 Pax ranges/prices in landscape orientation.


- Pax Ranges (showing two ranges in this example)
The PCM now exists, but it is currently empty; i.e. it has no products (also known as Service Lines) attached. The following procedure adds nine service lines to the example PCM.
Add Service Lines to a PCM
-
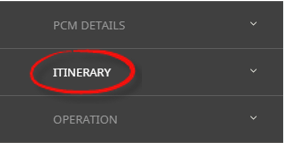
Select menu optionPCM Package Setup > Itinerary.
- Click the PCM Package Setup menu to expand it:
- Search and select the PCM:
- Click the Itinerary menu to expand it:

- Click the PCM Package Setup menu to expand it:
-
On theService Line Insert screen, enter enough information to be able to quickly find the product to be added as a service line to this PCM.
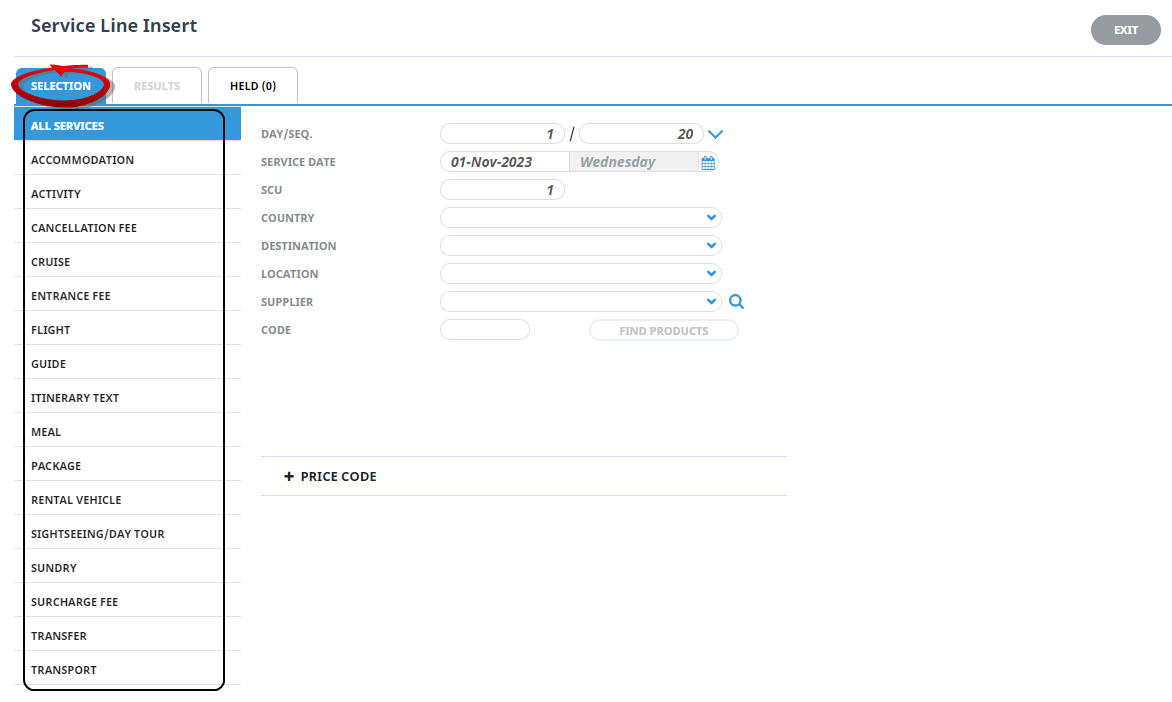
NOTE: The easiest way is to select products using the Service Type (Accommodation, Activity, Cruise, Entrance Fee etc.) and also Supplier and (product) Code, if known.
-
ClickFind Products and locate the product in the list of products returned.

-
ClickBook to review the information for this service line.

-
To select the product to hold, clickHold.

-
-
Check all details underService Information and update any required.
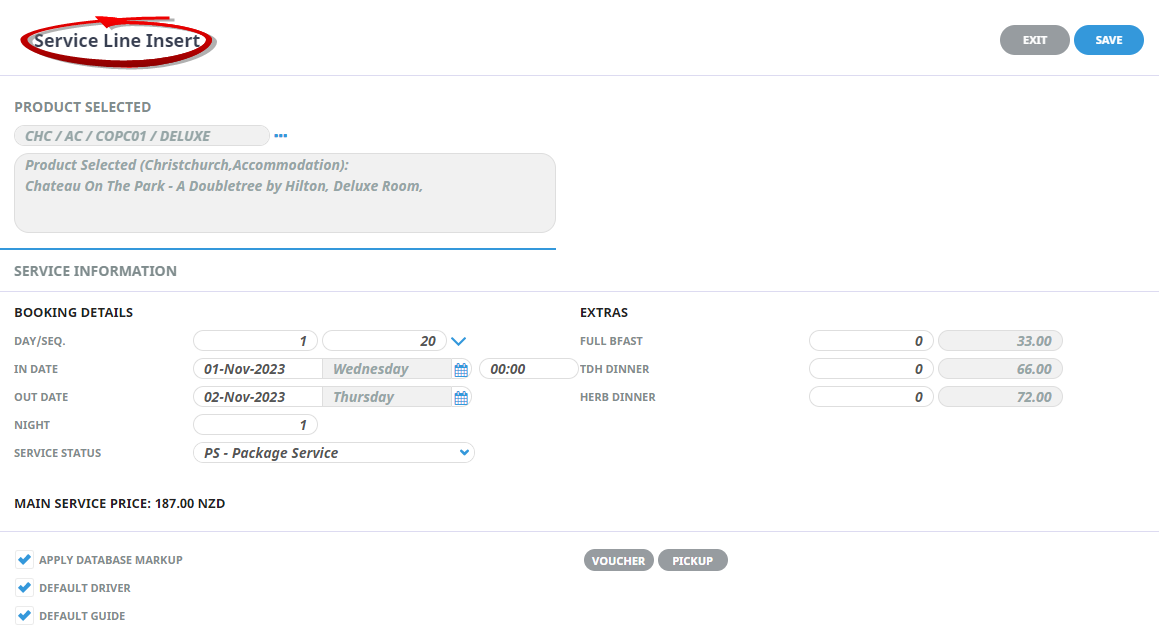 The examples show a Status of PS - Package Service, which is not a service status in the standard Product Database, however, this doesn't matter, as long as it's a status that the users understand.
It defaults to the value set in the Code Setup INI Setting PCM_SERVICE_IT_STATUS.
Service statuses do not mean much in PCMs. Unlike bookings, where the service status can dictate such things as whether vouchers can be issued or allocation held, in PCMs these functions are not available – after all, a PCM is either a ‘Quote’ or a repository of services used as a Package, or a Master that can be copied into bookings.
The main use of service statuses in PCMs is to determine whether a service is to be included in the cost, or is an ‘Optional’ (i.e. Alternate) service.
-
ClickSave to keep the changes.

-
ClickExit to discard any changes.
- If you click Save and the product requires rates to be loaded manually, the Service rate requires manual pricing entry screen appears automatically, showing a line for each pax range entered.
NOTE: If you know the rates, enter them at this time and click Save. If you don't know the rates, they can be entered later, in which case you also click Save.
-
When you click Save, the system displays the PCM Quotes, Itinerary view, showing one service line entered. ClickInsert New Service to add the next service line.

-
Continue adding service lines until all required products are attached to the PCM. Theexample PCM now comprises ten products. This is the completed itinerary for the PCM and can be viewed at any time via menu PCM Packages > Itinerary.
.png)
-
The PCM also has aDashboard view, which can be selected at any time via menu PCM Packages > Dashboard.
.png)